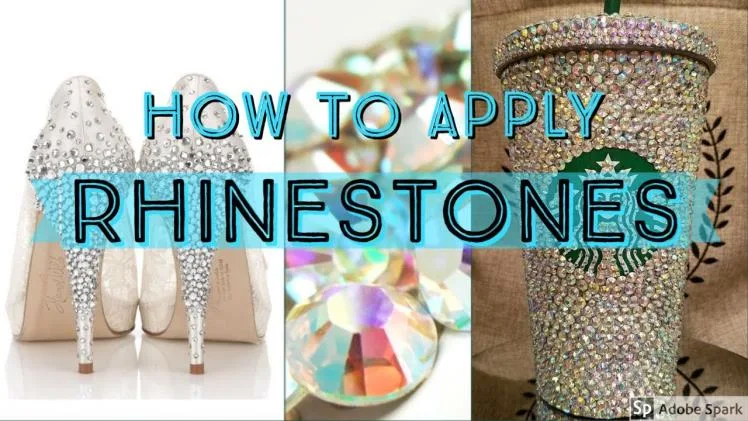
Non-hotfix crystals are dazzling embellishments that add glamour and sophistication to various projects, including garments, accessories, and home decor. Unlike hotfix crystals, non-hotfix crystals require adhesive for attachment.
While the process may seem intricate, it can be easily mastered with the right tools, techniques, and patience. This article will guide you through applying non-hotfix crystals, sharing valuable tips and tricks to ensure a fast and stunning result that will elevate your craftsmanship to new heights.
What Do You Need to Apply Non-Hotfix Crystals
Let’s say you’ve decided to add non-hotfix crystals to an item. What materials would you need to get it done? They include:
- Non-hotfix crystals: These are the primary items of the project. They come in various shapes, sizes, and colours, offering endless possibilities for your designs. Research Flatback Crystals and Rhinestones (Non hotfix) – all brands – to learn everything about this type of attachment.
- Adhesive: Choose a specialised adhesive designed for non-hotfix crystals. You may need to do additional research to learn what you need. However, epoxy or jewellery glue is commonly recommended. They’re multi-purpose and stick to most materials.
- Applicator tool: Use a fine-tipped applicator, such as a jewel setter or a wax pencil, to pick up and position the crystals accurately.
- Craft mat or tray: This will protect your work surface and keep your materials organized. You can place all your materials on the craft mat.
- Tweezers: Opt for tweezers with a fine tip for precise handling of the crystals.
- Cotton swabs or Q-tips are useful for applying and removing excess adhesive.
- Toothpicks or pin tools: These tools can help manipulate the crystals and adjust their positioning. They’re a more effective substitute for changing crystals with your fingers.
- Masking tape: It can temporarily secure the crystals while the adhesive sets.
- Safety glasses: Protect your eyes when working with adhesives.
Step-by-Step Guide to Apply Non-Hotfix Crystals
Next, let’s review the process of applying non-hotfix crystals. Carefully follow each step in the process for satisfactory results. To apply non-hotfix crystals;
- Prepare your work area: Clean the surface where you attach the crystals. Ensure it is free from dust, oils, and debris that could interfere with the adhesive’s bonding. This step is crucial. Debris could cause flatbacks to fall off easily.
- Plan your design: Before applying any adhesive, sketch your design. Consider the placement and spacing of the crystals to achieve the desired aesthetic. This planning will give you a chance to make any adjustments you like.
- Practice placement: Place the non-hotfix crystals on your project without adhesive to experiment with the design and finalise the positioning. Take a photo or mark the spots to refer to during the application process.
- Apply the adhesive: Apply a small amount of glue to the back of the crystal using a toothpick or pin tool. Be cautious not to use too much, as the excess adhesive may seep from the sides and spoil the appearance.
- Pick up the crystal: Use your applicator tool or tweezers to pick up the crystal by gently pressing it onto the adhesive, ensuring good contact.
- Position the crystal: Carefully place the crystal onto the desired spot. Use the applicator tool or tweezers to adjust its position if necessary. Take your time to ensure precise placement.
- Secure with light pressure: Apply gentle pressure to the crystal, using the applicator tool or a clean finger, to secure it in place. Avoid excessive force, as it may cause the adhesive to spread and affect nearby crystals.
- Repeat the process: Continue applying crystals one by one, following the design you planned earlier. Take breaks if needed to maintain focus and prevent mistakes.
- Remove excess adhesive: Use a cotton swab or Q-tip to wipe excess glue from the crystals’ sides. This step is crucial to maintain a neat and professional finish.
- Allow curing time: Different adhesives have varying curing times. Refer to the manufacturer’s instructions for the recommended duration. Avoid touching or moving the project until the glue has completely cured.
- Clean up: If you accidentally get adhesive on other surfaces, promptly remove it using appropriate solvents or follow the adhesive manufacturer’s recommendations for cleanup. You’ll remove spilt adhesive faster by following the manufacturer’s instructions.
Conclusion
Applying non-hotfix crystals can transform ordinary projects into extraordinary works of art. Following the step-by-step process and incorporating the tips provided, you can confidently adorn your creations with dazzling brilliance, enhancing their aesthetic appeal and leaving a lasting impression. Unleash your creativity and let the crystals shine!


